Spring Vegetable Water Kimchi: Kamishima Aki’s Recipe
Feb 22,2023
Spring Vegetable Water Kimchi: Kamishima Aki’s Recipe
Feb 22,2023
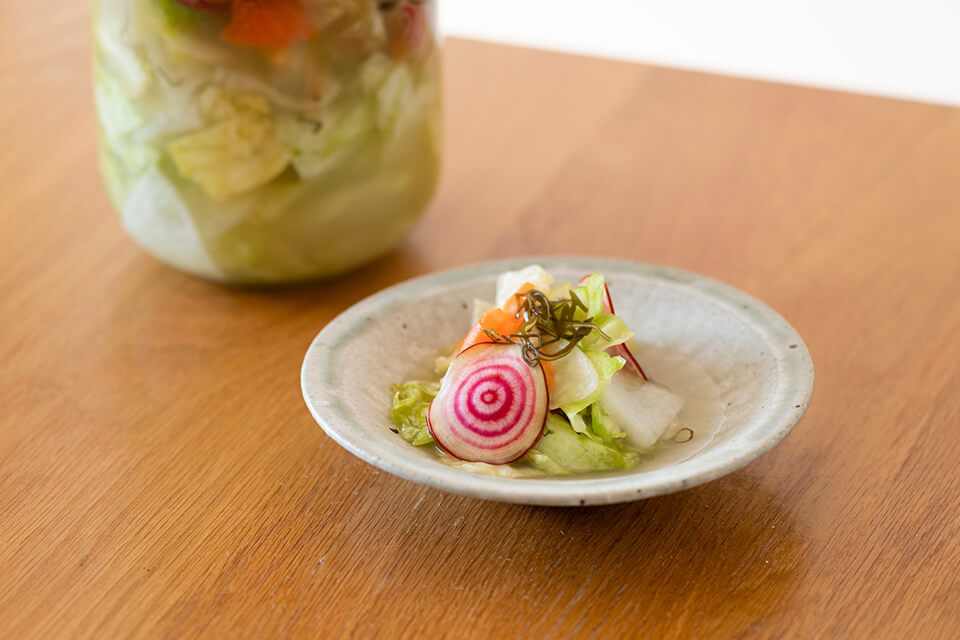

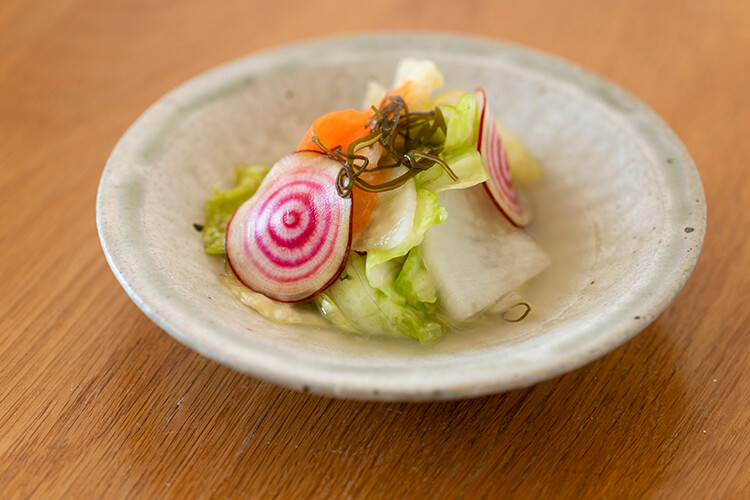
Spring vegetables are rich in nutrition, fresh and juicy, and have a modicum of sweetness. And many are suitable for eating raw. Plus they jazz up your dining table with their vibrant colors.
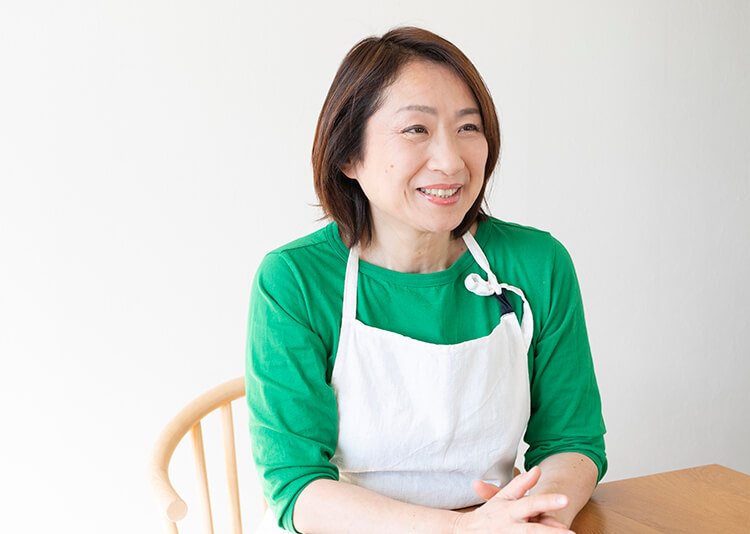
Here culinary expert and food coordinator Kamishima Aki shares her recipe for making water kimchi with spring vegetables, which she often makes herself. We also ask her about her favorite fermented foods.
Aki’s fondness for hot, spicy foods had dwindled over the years. Then she happened to be on a trip to Osaka and came across water kimchi in that city’s Koreatown, Tsuruhashi. She’s been in love with it ever since.
“There are several great things about it. It goes down easily because it’s not spicy. It’s a source of many different types of vegetables. And it goes well with any cuisine, Japanese, Western, or Chinese. I started making it after a Korean friend taught me how to do it. It can be made with any vegetable you can eat raw. It’s just like pickling vegetables in rice bran paste.”
Aki also finds that water kimchi makes her feel physically better. “It apparently contains considerably more lactic acid bacteria than kimchi made with chili peppers. I often make it when I want to lose weight or I’m not feeling that good.”
The sine qua non of Aki’s water kimchi recipe is saeu-jeot or salted fermented shrimp, known as ami no shiokara in Japanese. This promotes fermentation and gives the dish umami. “My Korean friends tell me that the flavor isn’t authentic without it. The easiest thing to use is the frozen stuff. I buy it online.” Chopped kombu (kelp) is also important for adding extra umami.
Another characteristic of water kimchi is that it’s made with starch paste, which helps the lactic acid fermentation process along. “The handiest thing to use is rice flour. It can also be used in cakes and other dishes, so it won’t go to waste.”
What are the best vegetables for making water kimchi? Whatever’s in season. “The basic ingredients in my recipe are spring cabbage and daikon, but today I’m also going to use celery, Chioggia beets, and spring carrots. Feel free to add turnips or whatever else you like as well. It makes a colorful dish perfect for spring, so enjoy!”
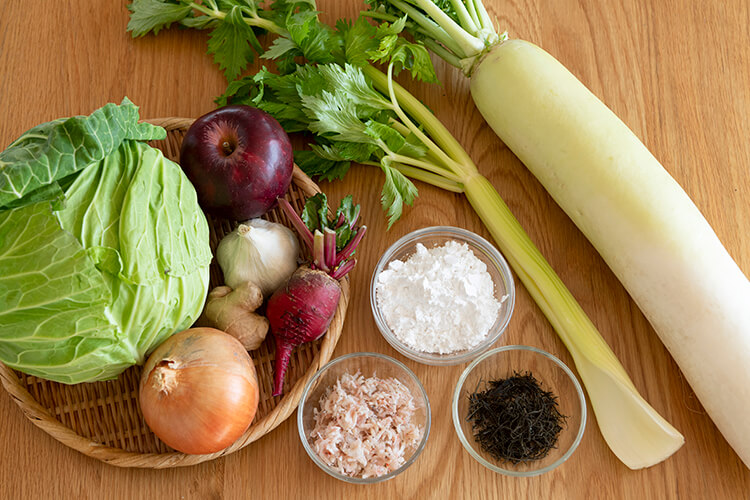
The main ingredients used in water kimchi with spring vegetables.
Saeu-jeot is the light pink dish in front at the center.
The basic ingredients are spring cabbage and daikon.
You can add whatever other vegetables you like, as long as they taste good raw.
5. Strain the mixture from Step 4 into a bowl using a thick sheet of kitchen roll. Add 400ml water (not included in list of ingredients) and then the ingredients from Steps 3, 1, and 2, in that order. Place in a storage container.
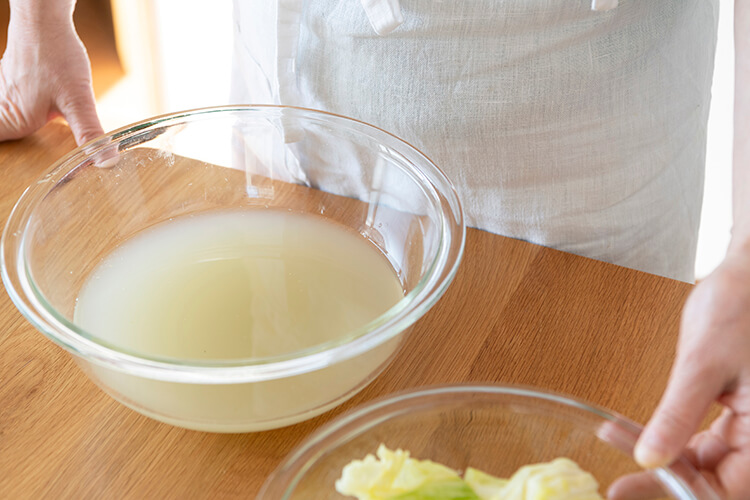
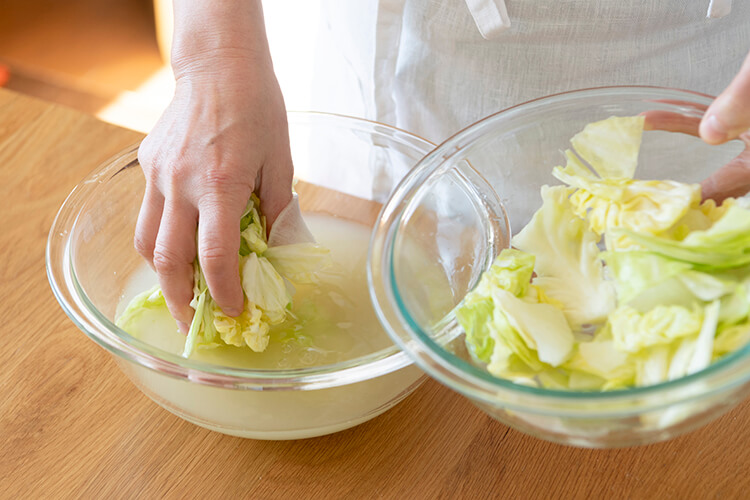
Left: To make the brine, strain the extract from the vegetables and saeu-jeot through a thick sheet of kitchen roll. Then add water and the starch paste from Step 3.
Right: Add the vegetables to the brine, starting with the basic ingredients.
6. Add the chopped kombu to the container.
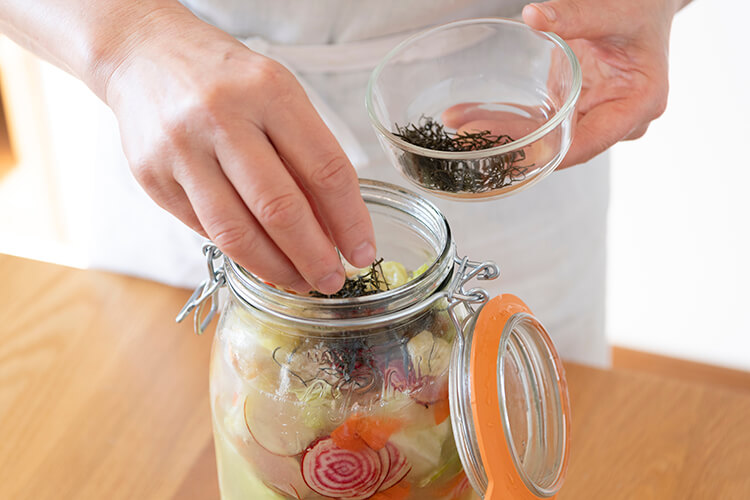
Kombu is, along with saeu-jeot, key to adding umami. If finely chopped, it’s also easy to eat.
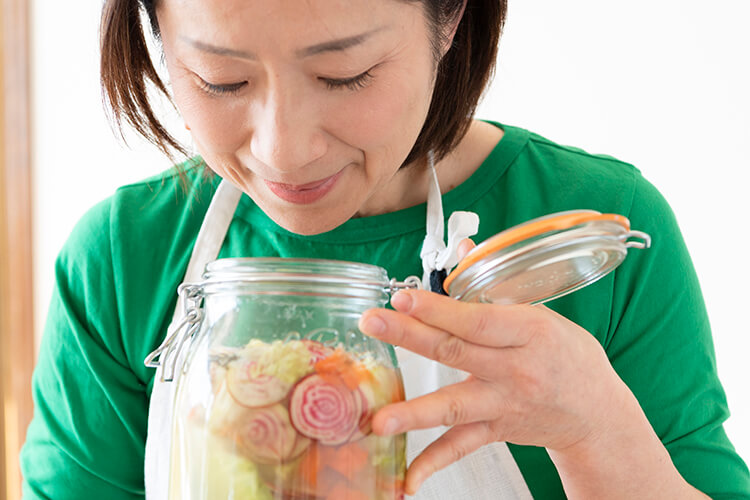
Water kimchi tastes best three or four days after being made. “I figure it’s ready when it has a pleasantly sour aroma,” says Aki. “It keeps fermenting as the days go by, so try to finish it within a week.”
Aki strongly recommends you eat the kimchi brine as well. It’s rich in lactic acid bacteria and other nutrients and tastes excellent.
“I pour the kimchi over a hot bowl of multigrain rice, brine and all, and eat it like ochazuke (rice steeped in tea). If I get food cravings at night, I have a cup of the brine diluted in hot water, since it’s too salty on its own, and that settles my stomach. Oh, and tokoroten jelly noodles soaked overnight in the brine taste exquisite.”
The brine goes off in about a week, so if any is going to be left over, Aki puts it in the freezer straightaway. “I want to enjoy every last drop. I certainly don’t want any to go to waste.”
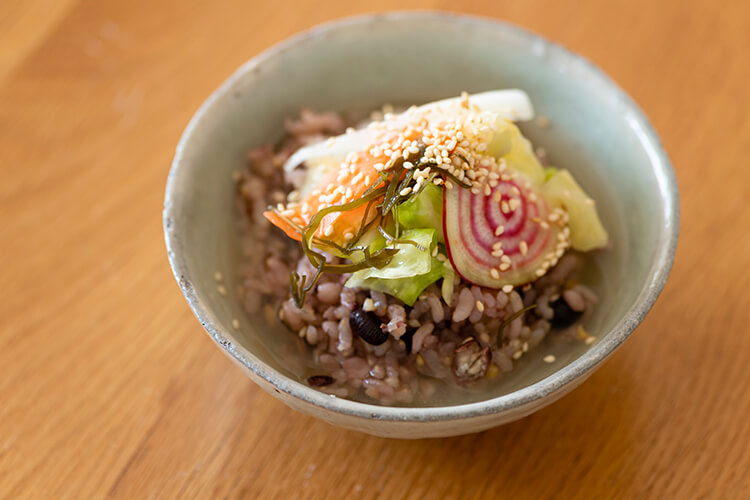
Water kimchi on a steaming-hot bowl of rice.
“I’ll often have it for a quick lunch alone or in the morning when I don’t have much of an appetite.”
Aki quit her office job and ventured into food when she became a parent. That was largely under the influence of her mother, who was health-conscious and careful about what the family ate. Aki started making miso out of a desire to produce her own fermented foods. She wanted to eat good, healthy food at home.
Then she got into making all kinds of fermented foods: yogurt, sweet koji, fermented anko bean paste, rice bran pickles, kimchi, and of course water kimchi. Now that her son has moved out and left an empty nest, she only makes miso every other year. She’s also winnowed down her repertoire to water kimchi, rice bran pickles, and a few other things.
One thing Aki often makes these days is fermented anko bean paste. “I went on a weight-loss regimen last summer, and I’ve been going to the gym and eating a restricted diet. But when I refrain from sweet foods, I tend to rebound. So I decided to make fermented anko bean paste and freeze it as a substitute for adzuki bars, a type of popsicle that I just love. Fermented anko bean paste is pretty sweet thanks to the power of koji. It tastes really good.”
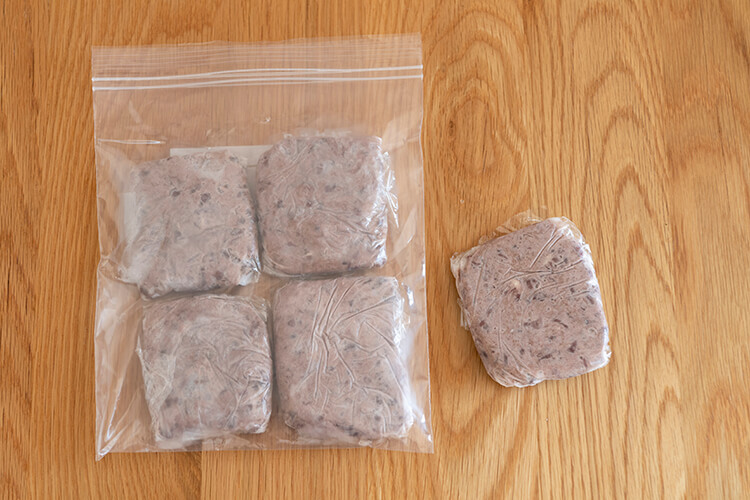
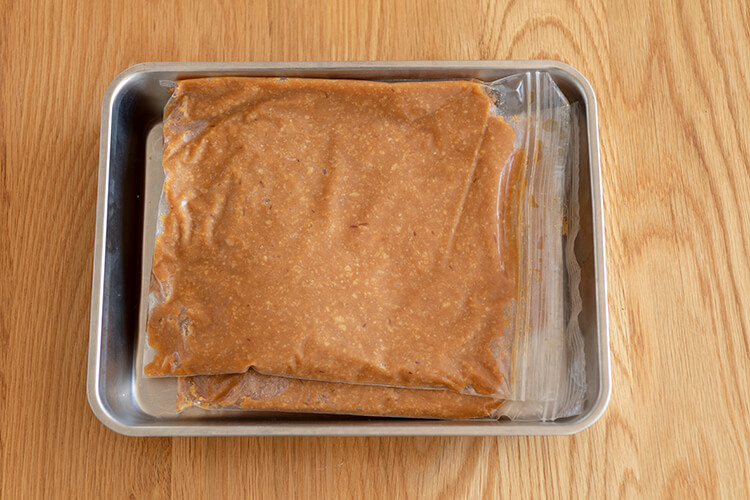
Left: Fermented anko bean paste cut into squares and frozen as a substitute for popsicles.
Right: Aki makes a batch of miso every other year and stores it in kilogram blocks in the freezer.
“Someone from a miso factory taught me this trick for keeping the flavor fresh. It doesn’t turn solid because of the high salt content, so it’s easy to work with.”
Among the many fermented foods that Aki has made and used, there’s one that strikes her as a particularly outstanding condiment: salted koji. “It’s all you need to make a dish taste great, even without adding sugar or mirin (sweetened sake). And the wonderful thing about it is that you can use it with any type of cuisine, whether Japanese, Western, or Chinese. Meat or fish marinated in salted koji is juicy and full of flavor, and it comes out of the oven gleaming.”
Aki makes a conscious effort to consume salted koji as a source of enzymes. “I’ll add olive oil and herbs to it to make a dressing for tomato caprese salad, or add it to grated yams as a topping for hotpot.”
But there’s one catch, Aki says. When she makes salted koji herself, it’s either over salty or doesn’t keep for long enough. “Marukome’s Nama Shio Koji (fresh salted koji) is only mildly salty, and it comes with a cap for ease of storage. That’s what I love about it.”
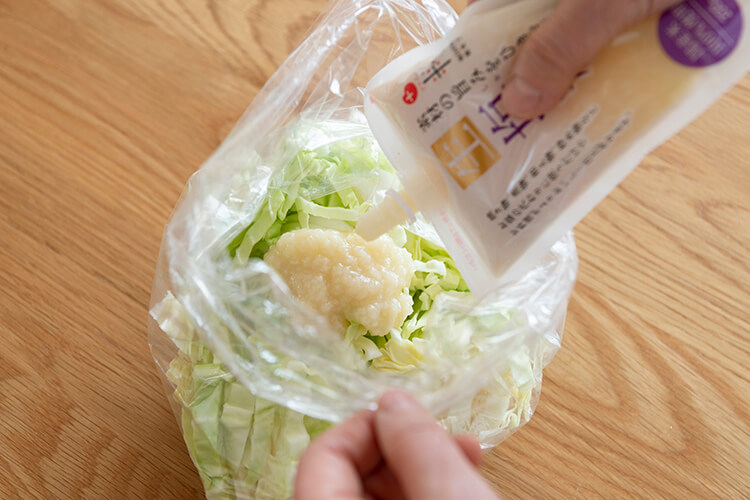
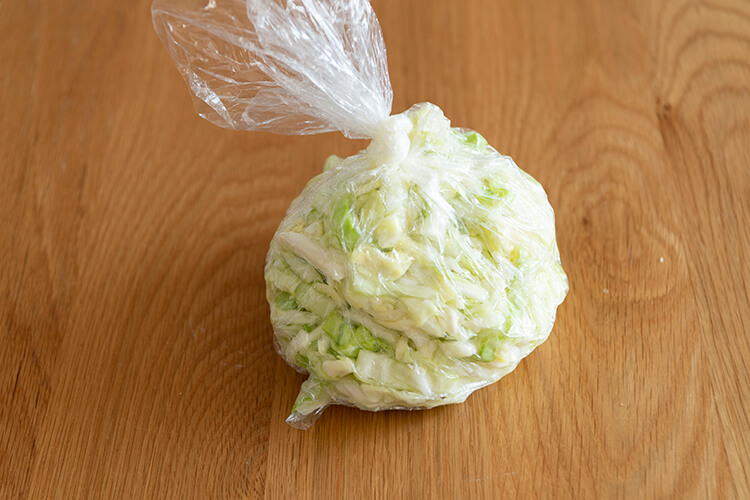
Here’s how to make delicious-tasting lightly pickled cabbage. Julienne some cabbage, knead it with Marukome Plus Koji Nama Shio Koji, put it in a plastic bag, remove the air, and let it sit for 15 minutes. For variety, add yuzu peel or ground Japanese pepper.

Culinary expert and food coordinator
Culinary expert and food coordinator
Besides running A’s Table from her home, Kamishima Aki is also a qualified Nutrition Education Advisor and Junior Athlete Food Meister. Her broad repertoire of recipes ranges from simple home meals to dinner party cuisine, pastries, and cakes. Featured in women’s magazines and books, they’re renowned for being easy to make. Her latest books: Moreish Meals They’ll Ask You to Make Again (published by Ikeda Publishing) and No-sweat Morning Lunchbox Prep with an Electric Pressure Cooker (published by Shufu no Tomo Sha).
https://www.instagram.com/kamisimaaki/