Paneer & Whey Pickles: Summer Recipes by Ishizawa Kiyomi
Jul 20,2023
Paneer & Whey Pickles: Summer Recipes by Ishizawa Kiyomi
Jul 20,2023
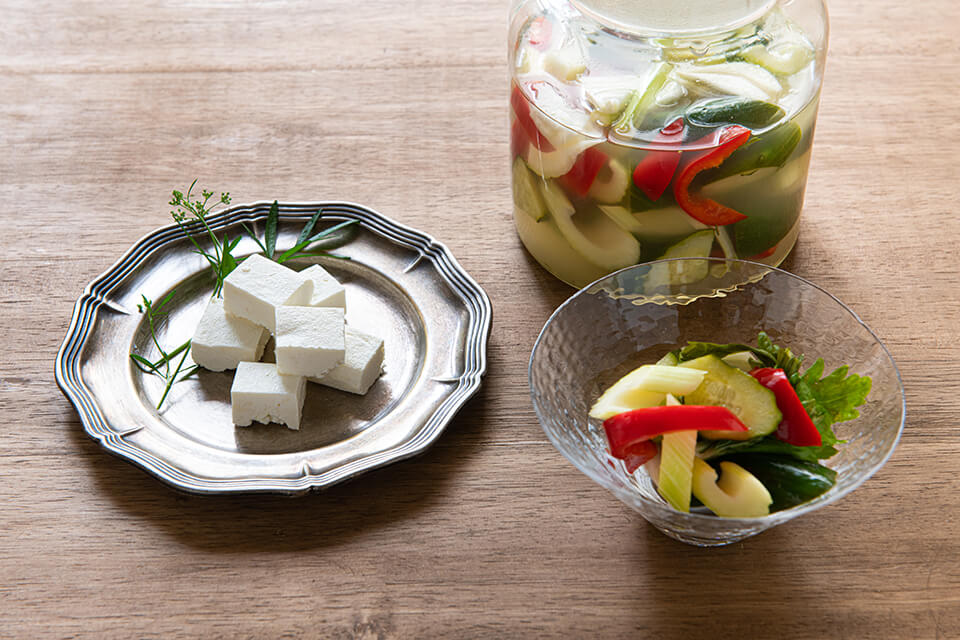

It’s nice to enjoy something light and refreshing at this hot, steamy time of year. So why not freshen up your dining table with two homemade dishes using yogurt?
One is paneer—Indian cottage cheese made with strained yogurt. The other is summer vegetables pickled in whey—the liquid that remains after yogurt is strained. Culinary expert Ishizawa Kiyomi often makes both in summer, and she shares the recipes for them here. She also tells us about shottsuru, a fermented condiment from Akita that she’s been fondly using for over twenty years.
“I’m not in the habit of eating yogurt,” says Kiyomi, “but in summer I do make foods with strained yogurt.” Yogurt from which the excess liquid has been strained out—a process that takes about an hour—is smooth-textured and full-bodied like cream cheese.
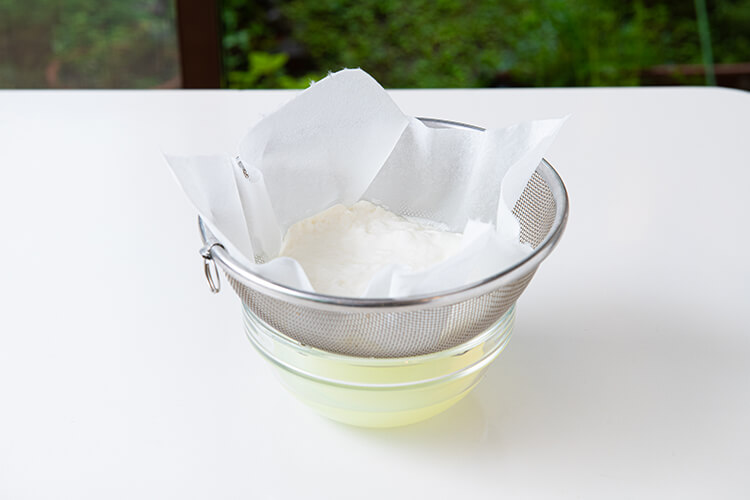
Kiyomi often uses strained yogurt to make cold desserts and dressings, as well as the Indian cottage cheese paneer.
“Don’t you get curry cravings in summer? Paneer is the white cheese cut into square cubes you see in Indian curry restaurants, and it’s the perfect curry topping. Eaten as is, it’s slightly sour, and it has a plain, simple flavor with a full-bodied, cheesy undertone. When it’s added to curry, that fullness really enhances the taste.”

The sole ingredient is strained yogurt. It’s simple to make as well: zap it in the microwave, drain off the liquid, and let it firm up. Cheese is expensive to buy, so Kiyomi suggests you make it yourself.
“When you heat yogurt, the acid in it causes it to coagulate. Usually cheese is made by adding vinegar or lemon juice to milk, but I’d definitely recommend using strained yogurt instead. It coagulates better, and it has a naturally sour taste.”
When you make strained yogurt, some liquid is left over. This is the component of milk called “whey.” When milk protein is coagulated by the acid in lactic acid bacteria, you get yogurt. Yogurt contracts as it ferments, and the whey it contains becomes separated out in the process.
Whey is packed with all kinds of nutrients like soluble protein, minerals, and vitamins. “It would be silly not to use it,” says Kiyomi.
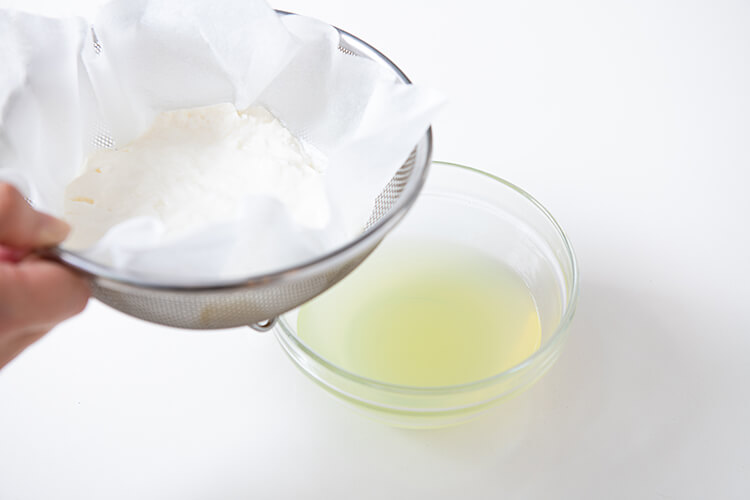
Whey is the yellowish liquid that settles at the bottom of strained yogurt.
“The easiest way to use it is to boil rice in it or add it to a tomato-based soup, though that results in a somewhat sour taste. What I often do with it is make whey pickles. Summer vegetables simply soaked in whey for half a day taste really good. And if you leave them for one to three days, the lactic acid bacteria in the whey will ferment them.”
I actually tried some whey pickles fermented for a day, and I found them irresistible on a hot summer’s day. They’re sour and salty in just the right way. The crunch of vegetables in your mouth is also nice.
“You should drink the brine of the whey pickles as well. Like the brine of water kimchi, it abounds in lactic acid bacteria and tastes delicious. I’d also recommend marinating meat or fish in whey. It leaves it flaky and tender.”
1.Line a sieve with a thick paper towel and place atop a smaller bowl. Pour in the yogurt and cover the sieve with plastic wrap. Place in the fridge and let drain for an hour. Save the liquid that collects in the bowl—the whey—to use later for pickling summer vegetables.

The best type of paper towel to use for straining yogurt is the thick non-woven type. You can also use a cotton cloth or gauze instead.
2.Place the strained yogurt in a heat-resistant bowl. Heat in the microwave at 600W for 2½ to 3½ minutes , until it starts bubbling.

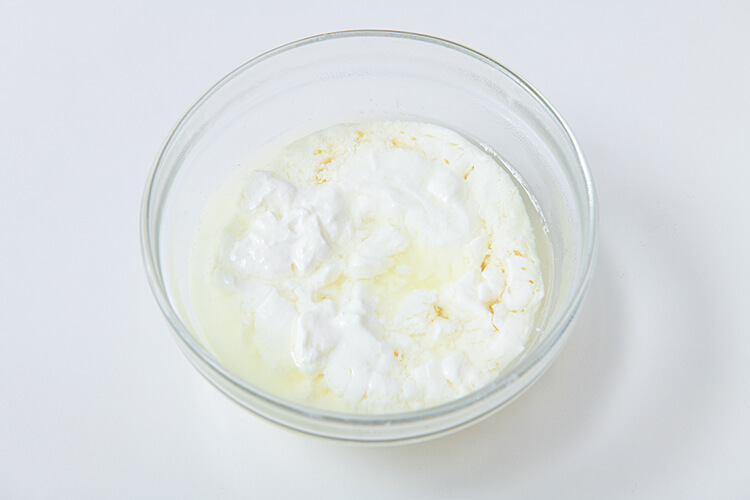
Place the bowl in the microwave without covering it with plastic wrap (left ).
When heated, the yogurt coagulates due to the action of the acid in it and separates from the whey (right).
3.Line the sieve with a thick paper towel and place atop the bowl as in Step 1. Pour in the yogurt from Step 2 and quickly drain. Save the liquid that collects in the bowl—the whey—to use later for pickling summer vegetables.
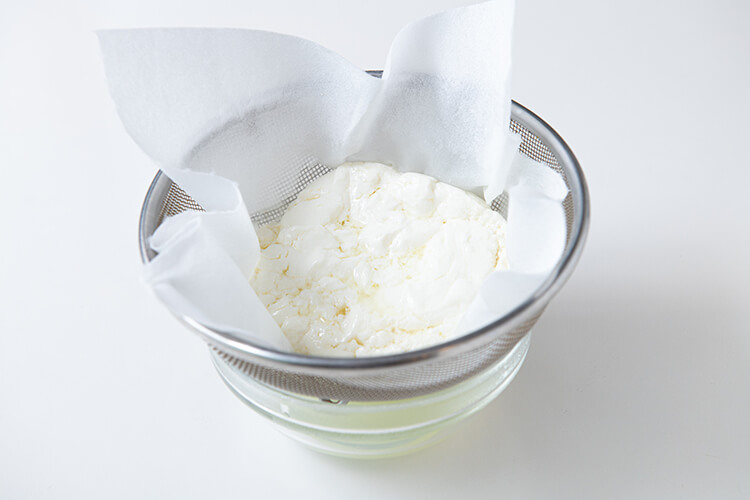
If you break up the curds at this point, they can be eaten as cottage cheese. The whey that collects in the bowl is pleasantly sour and nutritious, though the lactic acid bacteria in it will have been killed by the heat. Once it cools a little, add it to the brine to be used for making whey pickles.
4.While still hot, transfer the yogurt from Step 3 to a small rectangular dish, paper towel and all. Wrap the entire mass in the paper towel and form into a square. Place a weight on top. Once it cools a little, refrigerate for an hour and let chill and harden.

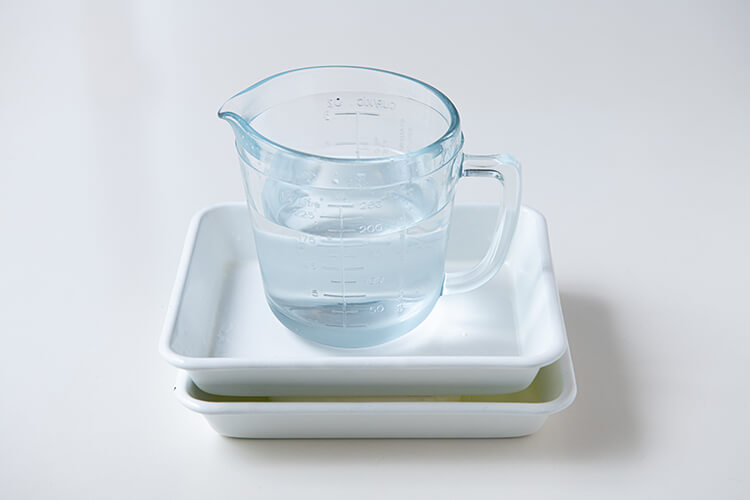
Left: The heated yogurt will harden once it cools. The trick is to form it into shape by wrapping the entire mass in a paper towel while it’s still hot.
Right: You can use a rectangular dish with a container of water on top to weigh it down.
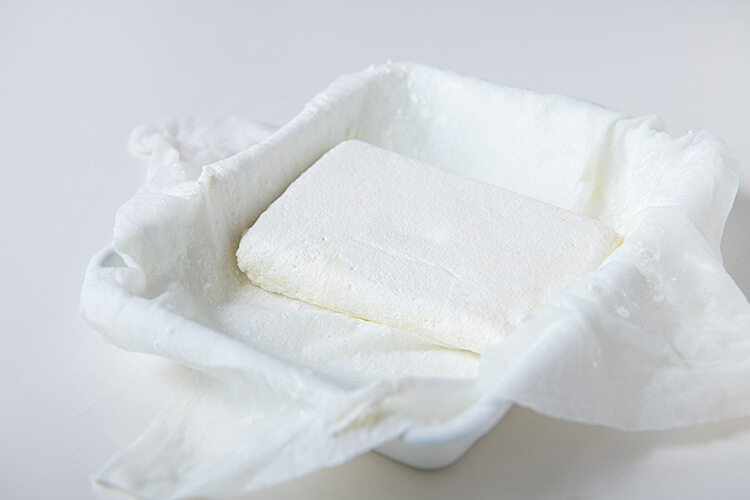
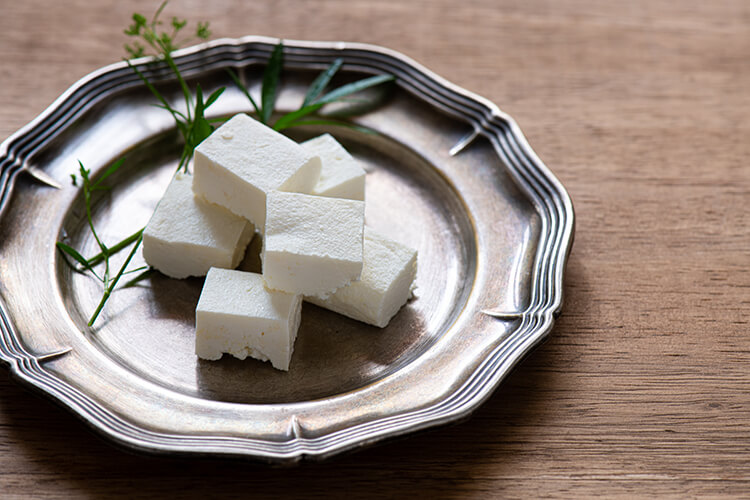
The finished paneer is compact, with a significantly reduced volume.
Paneer is delicious just as it is, with a nice fresh taste, but Kiyomi also suggests another great way to serve it.
“Paneer doesn’t contain much fat, so it tastes really good basted in oil. When you baste paneer in hot olive oil and cumin seeds, the oil enhances the texture. And the spicy flavor of cumin goes nicely with paneer. Enjoy as a snack!”
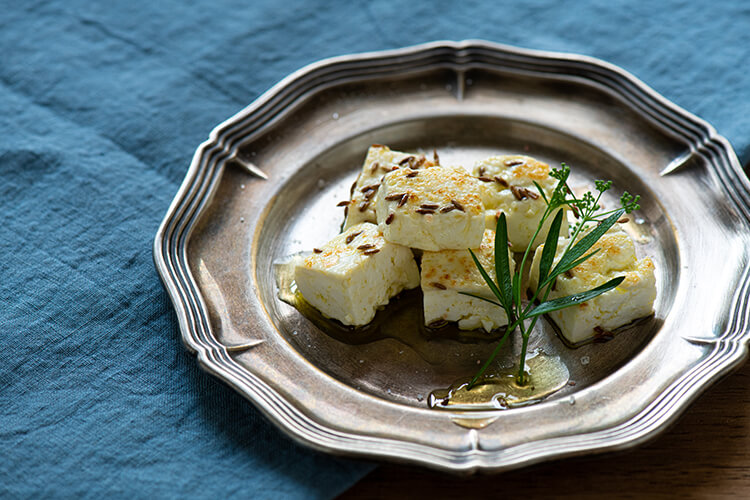
Heat some olive oil and cumin seeds in a frying pan. Then add the paneer and baste it in the oil just enough to singe the surface. That’s it!

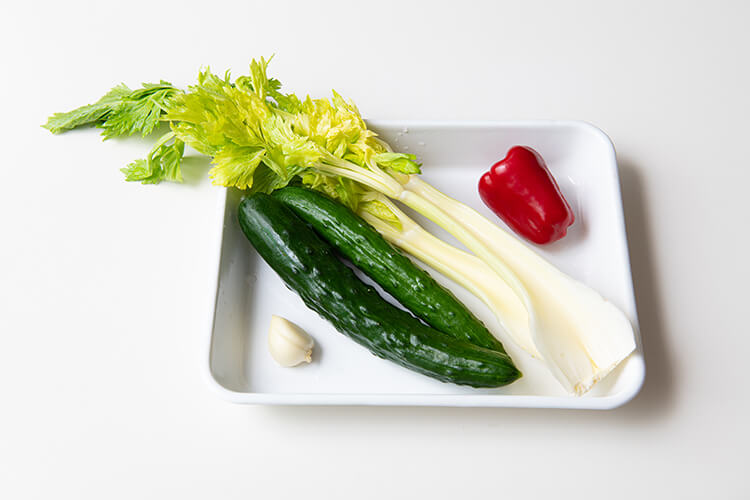
Use whatever summer vegetables you prefer. The recipe shown here was made with two cucumbers, two stalks of celery, and one red bell pepper, with garlic added for flavor.
1.Cut the summer vegetables into bite-sized pieces. (Cut the cucumber into chunks. Slice the celery stalks lengthwise in half and cut into 1cm widths. Cut the leaves into large pieces. Slice the bell pepper lengthwise in half, remove the stem and seeds, and cut across into 1cm widths.)
2.Pour the whey left over from Steps 1 and 3 of the paneer recipe into a measuring cup. Top up with water until it reaches 400ml. Add the salt and stir in.
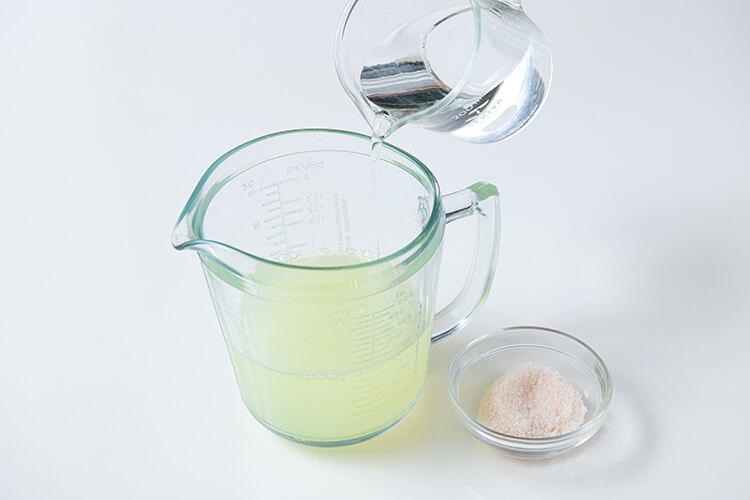
You add water because the whey isn’t enough on its own. Remember: the amount of salt is 3 percent of the brine.
3.Place the vegetables from Step 1 in a clean jar and pour into the whey from Step 2. They can be eaten after being pickled in the fridge for half a day, or you can ferment them by leaving them at room temperature for 1-3 days. They’re ready once they turn sour. They’ll keep in the fridge for 1-2 weeks after that.
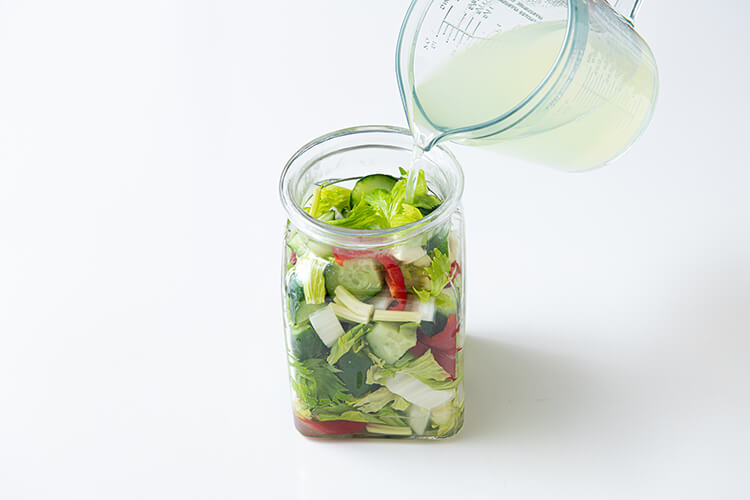
“These pickles are mildly acidic once they’re adequately fermented, which takes 3-4 days. Keep them in the fridge after that.”
Kiyomi, the author of numerous books on such subjects as pickles, koji amazake, and sake lees, has an impressive knowledge of fermented foods. One that she’s been using religiously for the past twenty years is shottsuru made by Moroi Jozo in Akita.
“I happened to come across it at a nearby supermarket when I was looking for a fish sauce made with ingredients I could be sure of. Shottsuru was originally made by fishermen for their own family. Many products on the market have amino acid added for mass production purposes, but Moroi Jozo’s shottsuru is fermented and aged the old-fashioned way, with just hatahata (sailfin sandfish) and salt. That’s what I love about it.”

Kiyomi is fond of using Moroi Jozo’s 100% Hatahata Akita Shottsuru. This is made by fermenting hatahata (sailfin sandfish) in sun-dried salt and aging it for three years.
“Shottsuru has a salty umami taste, yet it’s not sweet like soy sauce. It enhances the flavor of simple dishes like stir-fries. But you should go easy on it because of its high sodium content. A good formula to remember is to use between a third and a quarter of the amount of soy sauce you would use.”

Culinary expert
Culinary expert
Ishizawa Kiyomi creates recipes for everything from home-cooked meals to pastries, preserved foods, and desserts. She appears frequently in print and on TV, as well as running her own cooking classes. She has a profound knowledge of diet and health, being an international traditional Chinese medicine chef and international traditional Chinese medicine doctor, an NTI-certified nutrition consultant in the United States, and an herbal therapist. The most recent of her many books is TCM Meals for the Sixty Years Young and Up (published by Gakken).
https://www.kiyomi-ishizawa.com/